
Review · GUIDED
4 Hour Private Tour of Melbourne’s Iconic Highlights with Guide
Melbourne can feel big and opinionated, so a private highlights route keeps your time tight and your photos strong. I like that this tour pairs classic landmarks with modern street-level fun, and that you can shape the day around what you care about. Private transport for up to seven also means you avoid the usual commute chaos and keep the pacing comfortable.
The biggest potential drawback is the schedule intensity. You only get about 4 hours, so each stop is short, which means you’ll want to know what matters most before you go.
Key things to know before you go
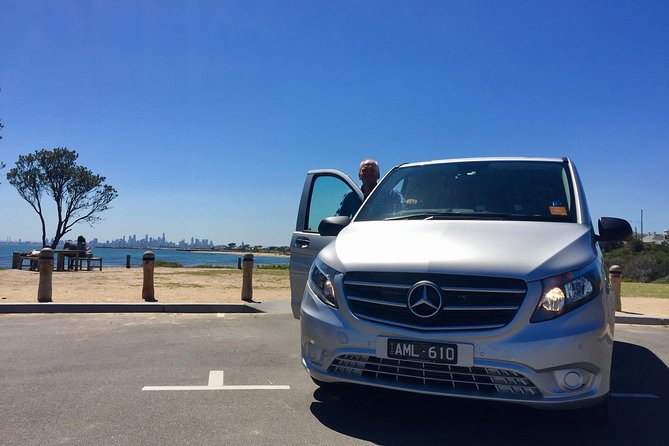
- Private guide + private vehicle: You’re not squeezed into a mixed group.
- Up to 7 passengers per group: A good size for families or small friend groups.
- Hotel pickup and drop-off: You start and finish without hunting transit.
- Iconic mix in one half-day: Cathedral, UNESCO building, war memorial views, street art, and beachside color.
- Most admissions are free: The stops listed are free, with Brighton Bathing Boxes timed in and included.
- Weather-friendly structure: It runs in all weather, so bring layers and shoes you trust.
A 4-hour Melbourne highlights mix built for your pace
This is a classic Melbourne “greatest hits” format, but it works because it’s built as a private route. You get a guide who can keep momentum while still answering questions, and you’re able to adjust what you prioritize during the day. That flexibility matters in a city where people can agree on almost nothing, except that the laneways and the big public buildings both matter.
You’ll cover several neighborhoods without feeling like you are spending the tour stuck in traffic or losing time to parking. One review highlight was the coordination style, where the guide stayed with the group while a separate driver handled the vehicle. That may not be how every private operator runs, but the overall result is what you want: short walks, quick arrivals, and less dead time.
The vibe is efficient and friendly, not rushed in a hostile way. Still, you’ll feel the “half-day” timing, especially after the Shrine and before the St Kilda area. If you tend to linger in museums or like long photo stops, you may want to pick one or two items to get extra attention.
A few more Melbourne bookings worth a look before you decide
- Great Ocean Road Small-Group Eco Tour from Melbourne
★ 5.0 · 6,607 reviews - From Melbourne: Great Ocean Road, 12 Apostles, Wildlife Tour
★ 4.7 · 6,020 reviews - Penguin Parade, & Wildlife Encounters Eco Tour from Melbourne
★ 5.0 · 3,774 reviews - Melbourne: Yarra Valley Wine, Gin, Whisky and Chocolate Tour
★ 5.0 · 3,667 reviews
Getting on and off at Flinders Street (and why it matters)
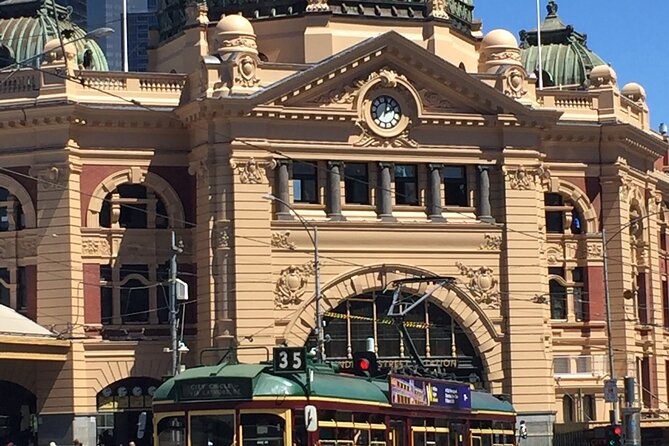
The tour starts at Flinders Street, with the meeting point at Flinders St, Melbourne VIC 3000, and it returns you to the same area. Pickup is offered, and the tour includes hotel pickup and drop-off, so you may not need to travel to the meeting point yourself.
From a practical standpoint, that matters because Flinders Street is one of the city’s easiest orientation points. If you arrive a day early or you’re staying in the center, you can usually handle any logistics without turning the tour into a puzzle. And since the tour ends back at Flinders Street, it’s also a clean way to get your bearings before you explore on your own afterward.
Timing-wise, the start time is 9:00 am. That’s helpful. Morning hours usually mean better light for photos at major facades and less daytime congestion at key areas.
St Paul’s, Fed Square, and Parliament: the city center hits first
The day opens with St Paul’s Cathedral. It sits on a hill and dominates the skyline in a way that’s hard to explain until you’re standing right there. You’ll have about 15 minutes, and admission is free. What makes this stop worth your time is how clearly it sets a Melbourne baseline: bluestone architecture, a strong sense of civic identity, and a view angle that helps you understand the city’s geography.
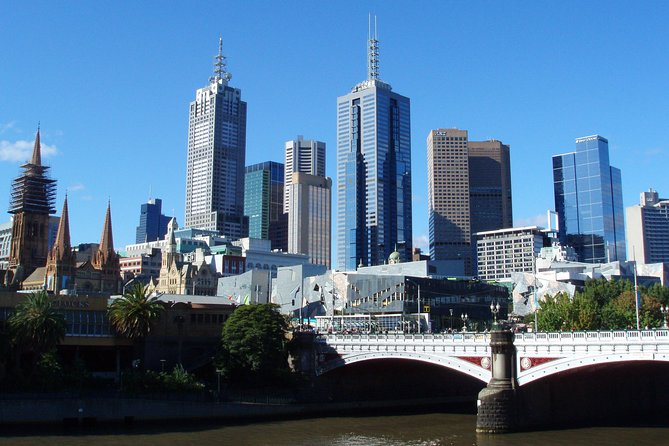
Next is Federation Square, often called Fed Square. You’ll get about 15 minutes here. It’s adjacent to the Yarra River, and the area is built for public life, not just sightseeing. Even if you don’t spend time reading every panel or sitting at a café, Fed Square is a good “switch” stop. It’s modern, active, and it helps you understand how Melbourne blends heritage with contemporary city culture.
Then it’s a quick look at Parliament House of Victoria for around 5 minutes. Short stop, but it’s strategic. You’ll get views toward Bourke Street, a shopping strip that’s central to the city’s rhythm. If you want to extend your day later, Bourke Street is an easy place to continue.
A smart tip for this first stretch: keep an eye on how far each stop feels from the next. In a private format, the walking distances usually stay manageable, and it means you can spend your energy on photos and explanations instead of pacing around like you’re chasing a bus.
UNESCO Royal Exhibition Building and Shrine views that change your perspective
After the city core, the tour moves to a major historical landmark: the Royal Exhibition Building. You’ll have about 15 minutes and admission is free. It’s listed as UNESCO, and being there in person helps you grasp why it’s considered important. The building is from the boom era of the 1880s, and its scale gives you a sense of how ambitious Melbourne was during that period.
What I appreciate here is the way this stop bridges “old Melbourne” and the city’s public-facing confidence. Even if you’re not a museum person, it’s the kind of architecture that makes you look up, not just at details, but at the overall shape.
Next is the Shrine of Remembrance. You’ll spend about 20 minutes, and admission is free. This stop is especially useful if you want a respectful, grounded Melbourne experience that doesn’t feel like a forced checklist. You’ll get views back across the skyline, and the location makes it feel like you’re seeing the city with a wider lens.
One consideration: since this is a memorial, take a moment to slow down. You’ll get a better experience if you pause for the views instead of treating it as a quick photo corner.
Flinders Street clocks, Port Phillip Bay views, and the seaside turn
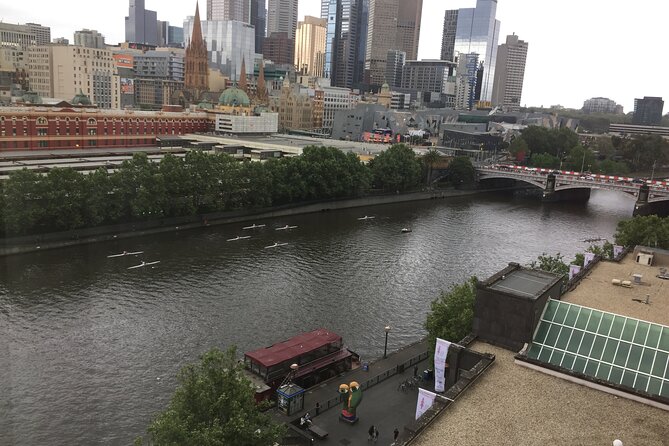
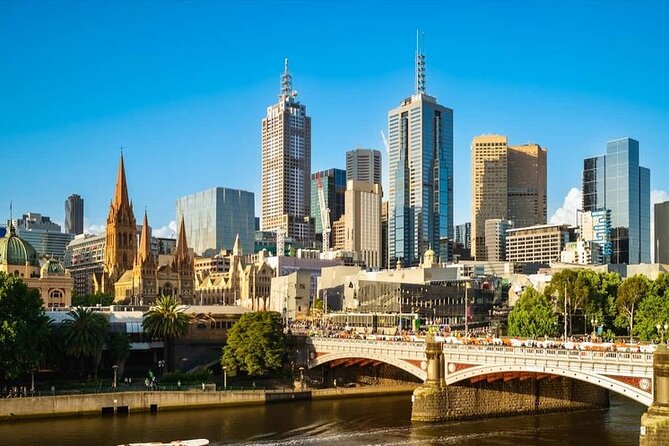
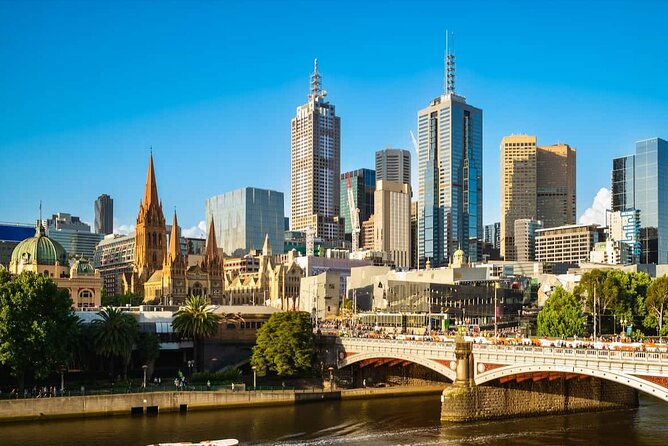
Back in the central zone, you’ll visit Flinders Street Station, about 10 minutes. The most famous feature is the station’s clock faces, often the first thing people recognize about Melbourne. Admission is free. This stop works because it’s iconic without needing a ticket or a plan.
After that, you’ll also have views across Port Phillip Bay. The time isn’t specified, but the point is clear: you’re not just seeing buildings. You’re seeing where the city meets water, which helps explain Melbourne’s layout and why the nearby beach areas feel like a quick escape.
Then you head toward the St Kilda side of the story. This is where Melbourne starts to feel more playful than formal. If you’re the type who likes a clean “morning history, afternoon fun” rhythm, this is the moment it happens.
Luna Park and Hosier Lane: St Kilda character in one tight loop
The tour includes Luna Park Melbourne, with about 10 minutes on site and free admission. It’s quirky, seaside, and very Melbourne. Even with a short time, it’s an easy place to grab a couple of photos and take in the vibe of the foreshore area.
From there, you’ll go to Hosier Lane, famous for its ever-changing street art murals. You’ll get about 10 minutes, and admission is free. This is one of the stops that can really elevate the day, because Melbourne’s laneway art is a live, street-level scene, not something behind glass. If you care about street art culture at all, this is the kind of stop where a good guide helps you look more carefully at what’s there.
Here’s how to make Hosier Lane work in such a short window: decide on your photo style before you arrive. If you want wide street shots, stand back first. If you want detail, go left to right with your eyes first, then shoot.
After Hosier Lane, you’ll be well set up for the last major visual payoff of the day, Brighton.
Other guided days around Melbourne
Brighton Bathing Boxes: the included color stop
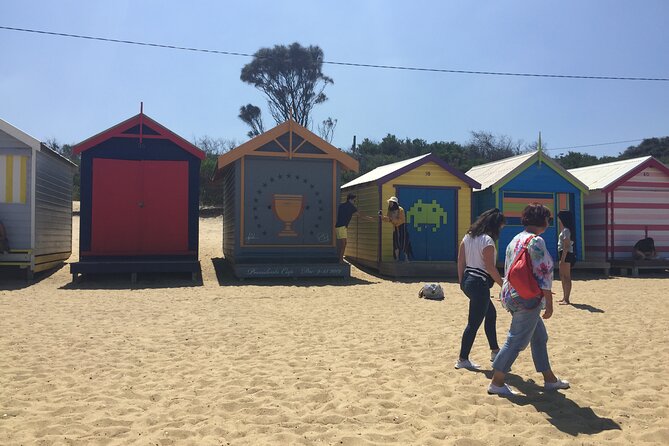
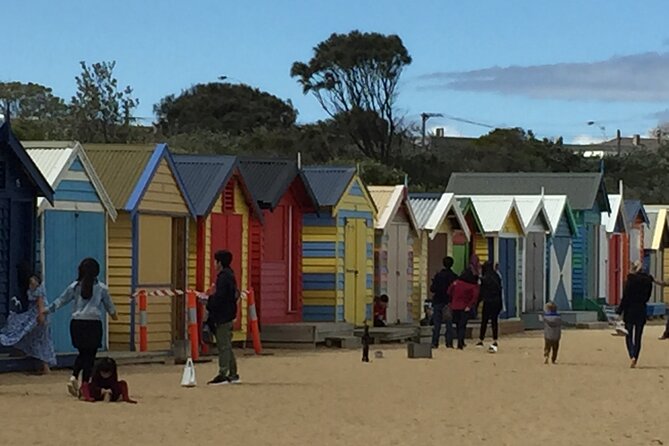
The last and most photogenic closer is Brighton Bathing Boxes. You’ll spend about 20 minutes, and this part is included. Admission is listed as included for this stop, and it’s known for the colorful box designs along the beach.
These aren’t random beach decorations. They represent creative community design and the beach culture that grew up in this area. Even if you’re not a beach person, these boxes are the kind of stop you’ll remember because they’re bold and human, not just scenic.
If you want your time here to feel worth it, wear comfortable footwear. Even with limited time, it’s hard to enjoy the boxes if you feel rushed walking along the beachfront.
Price and value: what you pay, what you get
The price is $1,075.15 per group, up to seven passengers, for about 4 hours. That’s not cheap in absolute terms. But for the right group, the value is practical.
Here’s what’s included:
- Local guide
- Hotel pickup and drop-off
- Transport by private vehicle
- Bottled water
- Mobile ticket
- Most listed stops have free admission, including St Paul’s Cathedral, Fed Square, Parliament, the Royal Exhibition Building, the Shrine of Remembrance, Flinders Street Station, Luna Park, and Hosier Lane.
- Brighton Bathing Boxes is marked as included.
So the decision is really about cost per person versus time saved and convenience gained. If you’re traveling as a couple, it may still feel pricey compared to public transit. But if you’re a small group of friends, or you want a guide because you care about context, the math shifts quickly. The private setup also protects your schedule. You’re not losing time waiting, transferring, or dealing with parking in multiple neighborhoods.
The other value point is quality of time. A well-run private morning means you get explanations at the right stops, plus you can ask questions on the spot. And because the tour is structured to work in different weather, you are less likely to lose the day if the sky turns.
Who should book this Melbourne private highlights tour
This tour fits best if you:
- Want a fast, guided introduction to Melbourne without trying to build an itinerary from scratch.
- Like the mix of historic landmarks and street art.
- Travel with up to seven people and want a clean, shared experience.
- Prefer pickup and drop-off, especially if you’re staying in the city center.
It might not be the best match if you:
- Want long, slow museum time, because most stops here are short.
- Plan to do heavy shopping at multiple districts, since the focus is sightseeing and quick neighborhood flavor.
- Prefer a purely coastal schedule, since the Bay and St Kilda pieces are part of a broader loop.
Should you book it? My call
If you want an efficient Melbourne overview and you enjoy both grand architecture and street-level creativity, this is an easy yes. The structure makes sense: central landmarks early, big views at the Shrine, iconic station energy, then St Kilda and beach color to close strong.
If your group includes people with different interests, the private guide format is a real advantage. You can keep the day moving while still making room for what your group cares about most, like extra time for photos at Hosier Lane or additional focus on the Cathedral and UNESCO building.
In short: book it when you want a guided half-day that actually covers the highlights without turning your day into logistics.
FAQ
How long is the private tour of Melbourne’s iconic highlights?
The tour lasts about 4 hours.
How many people can be in one group?
One group can include up to seven passengers.
Where does the tour start and end?
It starts at Flinders Street in Melbourne and ends back at the same meeting point.
What’s included in the price?
The tour includes a local guide, hotel pickup and drop-off, transport by private vehicle, and bottled water. It also uses a mobile ticket.
Are entrance tickets included?
Most stops listed on the route are free, and Brighton Bathing Boxes is marked as included.
What is the cancellation policy?
You can cancel for a full refund if you cancel at least 24 hours before the experience’s start time. If you cancel less than 24 hours before, the amount paid is not refunded.
More Tours in Melbourne



More Tour Reviews in Melbourne
More Melbourne Tours in Melbourne

Recently added to the Melbourne list
- [PRIVATE TOUR] Mornington Peninsula Hot Springs | Winery & Sightseeing Tour★ 5.0 · 3 reviews
- Melbourne Tours Walk the Yarra & Historic Boathouse Lunch★ 5.0 · 3 reviews
- 3.5 Hours Group tour Melbourne trouble-makers tour★ 4.5 · 3 reviews
- Jewish Scene in multi cultural Melbourne★ 5.0 · 3 reviews
- Yarra Sunrise Running Tour★ 5.0 · 3 reviews
Guided, side by side.
 ★ 4.8Great Ocean Road Tour w/ Deluxe Minibus & Top-Rated GuideFrom $1052,644 reviews
 ★ 4.7Melbourne Cricket Grounds (MCG) Guided TourFrom $24812 reviews
 ★ 4.8From Melbourne: Great Ocean Road Full-Day Guided TripFrom $98652 reviews
 ★ 4.5Ghosts, Murder, & Mystery Guided Walking TourFrom $27261 reviews
 ★ 4.7Phillip Island Penguin Parade with Expert Local GuideFrom $116245 reviews
 ★ 4.7Guided Night-Time Food Walking TourFrom $13176 reviews
 ★ 4.7Lake Mountain Snow Guided TourFrom $10464 reviews
 ★ 5.0Shrine of Remembrance Cultural Guided Tour in MelbourneFrom $1459 reviews